Saturday, March 31, 2012

This is why....

This is why cups need lids. This is no longer my cup since kitty wouldn't stop drinking out of it. I 'm not one, not to share, but you know my next cup will have a lid.

 There was a cartoon I had cut out of the newspaper years ago that I had posted on my refrigerator. It was about how moms drink beverages....pour hot cup of tea, get distracted by kids, drink beverage at 70 degrees....pour a hot cup of coffee, weed the garden, drink beverage at 70 degrees..... pour a cup of iced tea, answer doorbell, talk to neighbor for 30 minutes, drink beverage at 70 degrees. I found that cartoon very funny and very true. I always thought a lid on a cup might help with that...keeping beverages hot or cold for a longer period of time. Or maybe just to keep the cat out of it.

Friday, March 30, 2012

Thickerer

The two glazes I used on this are C.W. Plumb and C. W. Cream (Ceramics Monthly) measured and mixed by our tireless pottery workshop teacher, John. So far that glaze has not ceased to amaze me. Two people can use these same two glazes on similar bisqued pots and get very different results. Glaze thickness has everything to do with it. The thicker the better in most cases, although one must not overdue it since blisters may develop. But I think it's worth the risk.

Thursday, March 29, 2012

Never enough lidded pots

Got my glazed pot back from the center yesterday. I love it when it's time to visit the kilns and see the results of my hard and not so hard work, and the other class members work. In fact, now that I think about it, a good week is when I make plans around pottery. For example, stop at senior center on the way to grocery shopping to drop off some glazed pieces for a Monday firing;  stop at the center to pick up glazed pieces before going to the hardware store or stop at the center for a few hours of workshop before heading to the library and the bank. It's all good for me and probably saves some gasoline which is always a good idea.

Wednesday, March 28, 2012

To hold and behold an orchid


I had my orchid in mind when I made this shino glazed pot. I didn't make holes in the side because plants in Utah tend to dry out way too fast. In fact everything in Utah tends to dry out too fast. I don't dare leave my clay uncovered. Very low humidity here. The orchid plant was a half-dead discount when I purchased it last year, so I was surprised when it started growing a stem with buds. I didn't waste any time taking it out of its partially cracked plastic pot and giving it a new home.

Friday, March 23, 2012

Banded pot


Sometimes, no matter what I do, I can't get a photo that truly represents a piece of pottery. Lighting and background is always an issue. Of course I have no doubt that a professional photographer would get more out of a pot than I could but some pots will always look better in their natural habitat. Whether on a shelf or containing flowers or food, etc. I am finding that some pots are at their best when photographed that way instead of with a neutral, non-distracting background. I am also finding that a few pots are not very photogenic. My banded pot is one of them. It is attractive to behold in person but it does not translate into pixels very well. Not unlike its maker!

Thursday, March 22, 2012

Lucky little lid


Both large and mini pots were finished before I decided that the little one needed a little lid to match. On February 14, I posted about making a mini lid for my mini pot just following dimensions I jotted down. I really had my doubts about it fitting especially the way I measure things but luck being on my side, I have my answer. It fit! Can pottery be cute? Yes it can!

Tuesday, March 20, 2012

Glaze it and praise it


I am having more fun and better glazing results as of late. The adding of additional coats of glaze, blending together two glazes in a painterly fashion, right on the pot, and emphasizing high and low relief with a different glaze altogether, seems to work for me. And if I have to glaze fire a piece twice to get it right, as I did for this one, then so be it.

Blue buddy

This pot could definitely be buddies with the previous post. Same clay and same glaze and it was one of those bisqueware pieces I had collecting on that black shelf I posted a while back. I am at the point where those pieces need to be glazed and off that shelf. It took a while to get there. Now that I have a few reliable glazes and combinations of glazes that I can confidently use, I can move forward with that. It's happening slowly but it's still progress.

Wednesday, March 14, 2012

Digging for a post

Pottery wasn't fired at the center so I don't have the completed pieces I had planned to post. What to do, what to do.  I wandered around the house looking in nooks and shelves for pottery that managed to escape my camera lens. By the time I had found this pot, the sun was setting. I usually make a point of taking photos during the day in a room other than my "cave". The natural light floods into the room through three very large windows  which makes photography so much easier.  I have not figured out an alternative yet.  So with one hand using an LED flashlight (a super duper bright one)  and my camera in my other, I tried to get a descent photo, all the time while my camera was indicating that I shouldn't take any photo. Low battery and low light... or something like that. What do cameras know? The glaze is Amaco's Blue Rutile  and the medallion is Coyote's Shino.

The mountains are always photogenic. I had to take their picture too.

Sunday, March 11, 2012

A gift to give


I enjoyed making this 8 inch tall lidded urn to give as a gift. The way that Coyote's Shino glaze has such variations in color depending on the thickness of applications, makes for a great looking finish with just one glaze at cone 5/6 electric firing. Now I've got to make one for myself!

Saturday, March 10, 2012

I've been a bad blogger

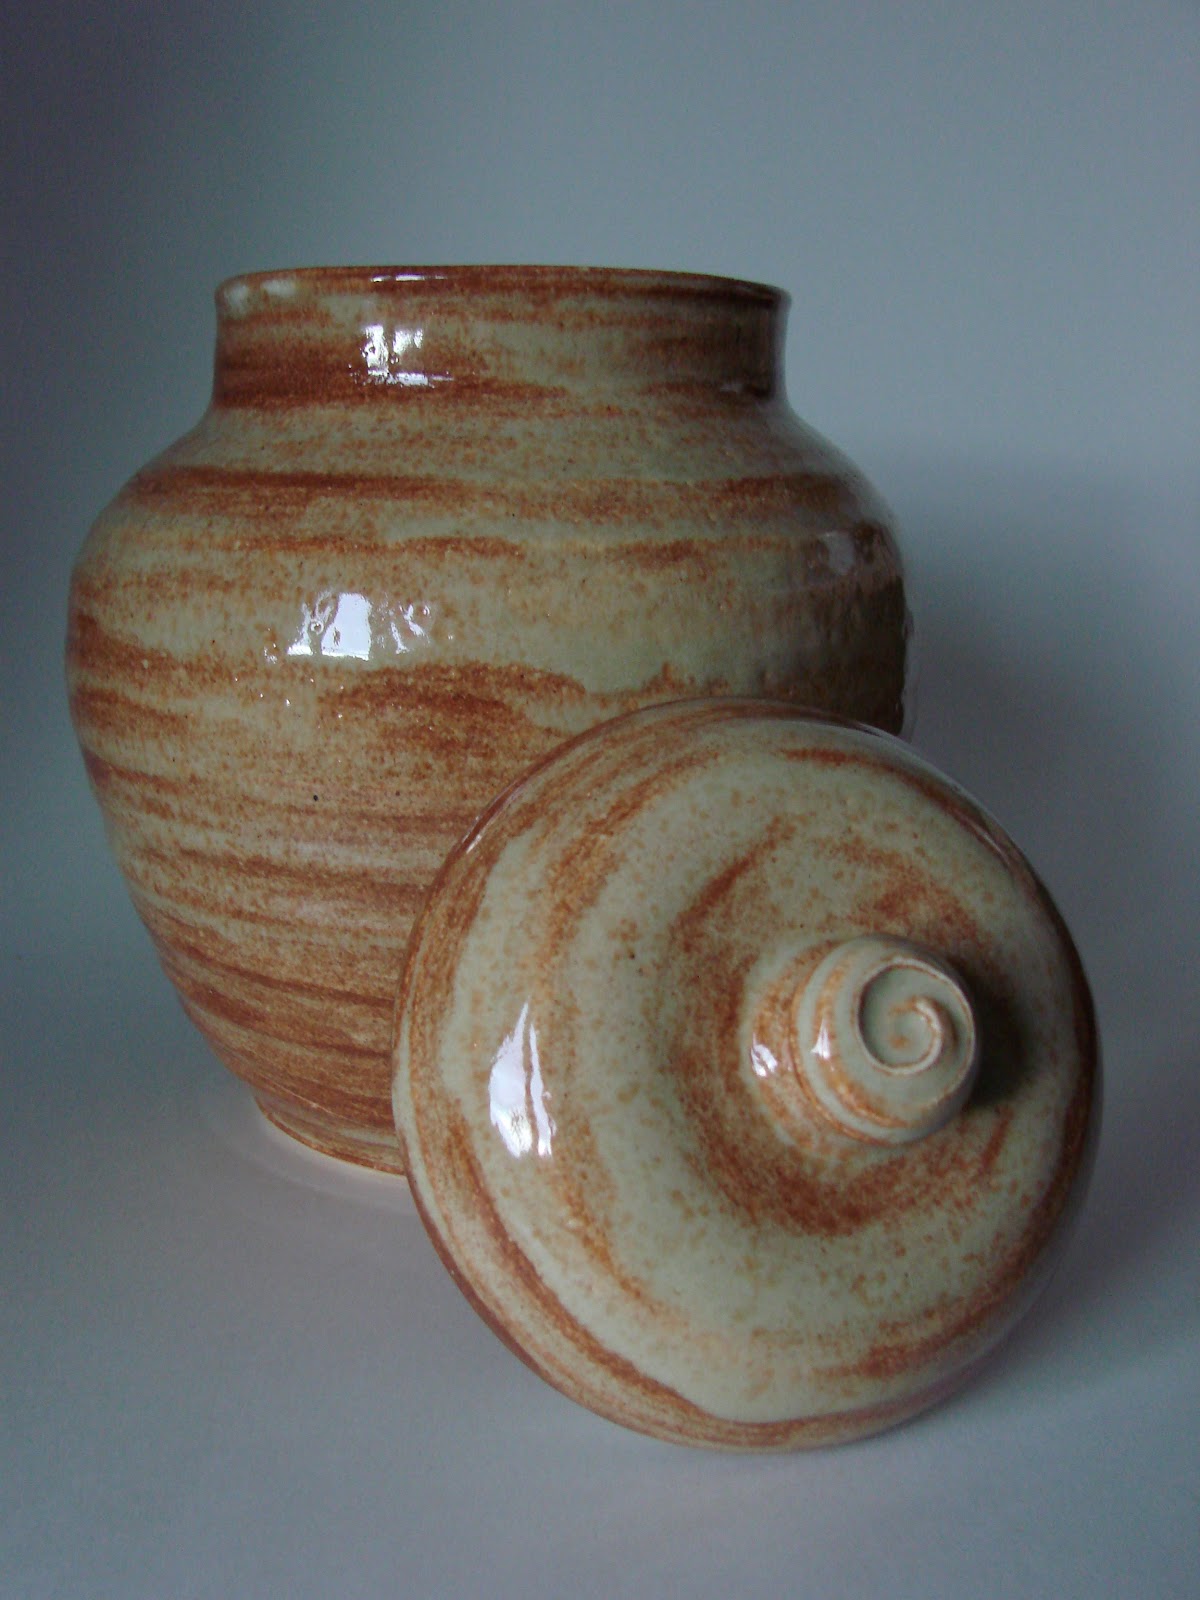
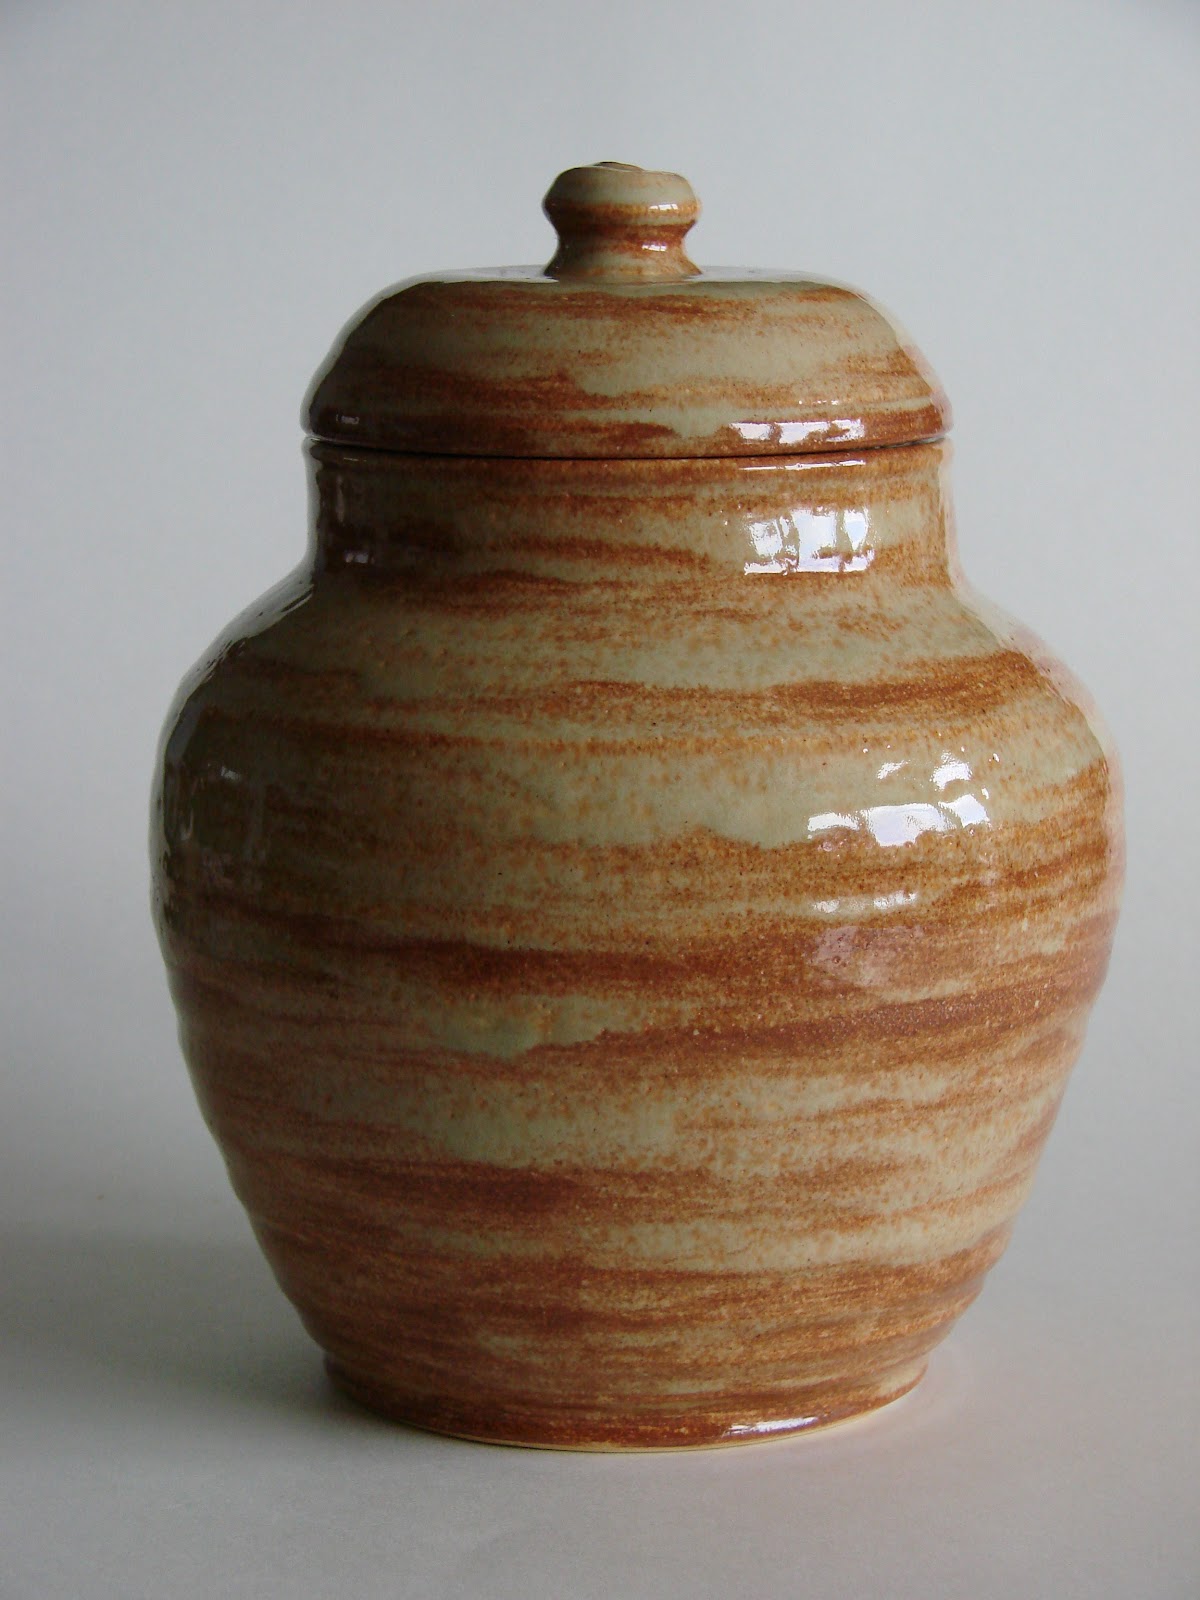
"Life" took me hostage and wouldn't let me have enough time to get to a computer to blog (or I was just toooo tired) but I broke free and I'm back. I made this a while ago when I was researching early American pottery. It inspired me and this is my take on a small crock. The decoration is brown slip on buff clay with a clear glaze. One swipe here and a dot there, and you've got a bird. The beauty of it is in its simplicity. But "simplicity" and "easy" are not the same things. I practiced on the side before I tried it on the pot. Laguna's stoneware Buff clay with sand which shows a few speckles, is the first clay I learned to throw with. After trying out some other clays with different colors  and textures such as earthenware clay and various porcelains, I find myself wanting to use that buff clay exclusively. Once I use up my bags of odds and ends of different clays, I will be done with them and stick with that buff clay. Sometimes you discover, you had it right the first time 'round.